
Using plesk mail to set up your own mail server:
This will split into two areas, first I will show you how to set the server up for mail then the domain,
First thing to do is set an A record for server on your main domain:
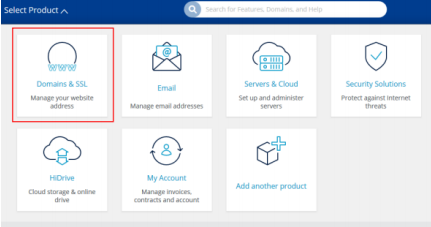
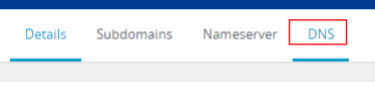
Go to the domain and select DNS:
A Record:

Point the server.domain to the server:

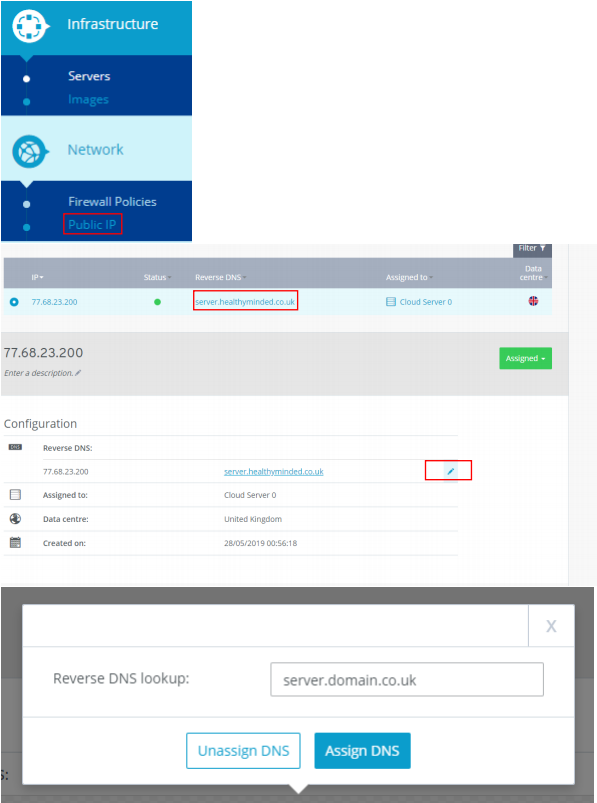
Set up reverse DNS:
Set up the firewall for mail:
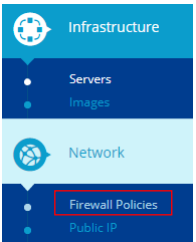
Add the following records to the firewall:
- Allow, IP: All, Protocol: TCP, Port: 25
- Allow, IP: All, Protocol: TCP, Port: 465
- Allow, IP: All, Protocol: TCP, Port: 587
- Allow, IP: All, Protocol: TCP, Port: 993

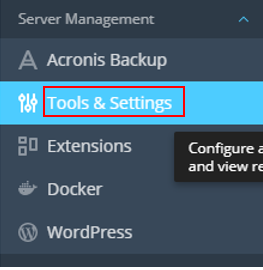
Set up the server HostName go to plesk Tools and Settings:

Server settings:

Set hostname to server.domain.com:

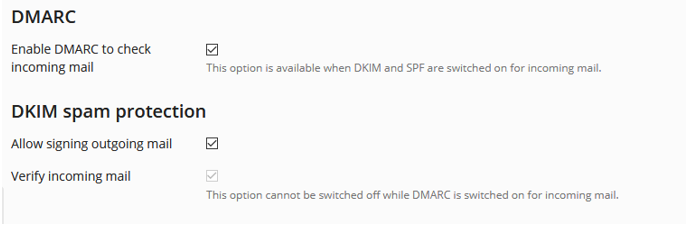
DMARC and DKIM, Go to plesk Tools and Settings:
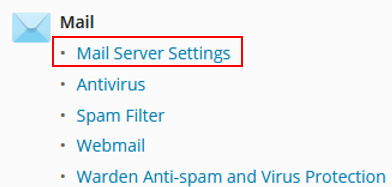
Select Mail Server Settings:
Scroll down and tick all the following box’s then to the bottom and save:
You have now set the server up for mail, one step left, if you haven’t already got it unblocked port 25 outgoing will be blocked for security reasons, you need to call Ionos: 03333365327 to get this unblocked, only do this when the above is complete.
Now setting up each domain for mail:
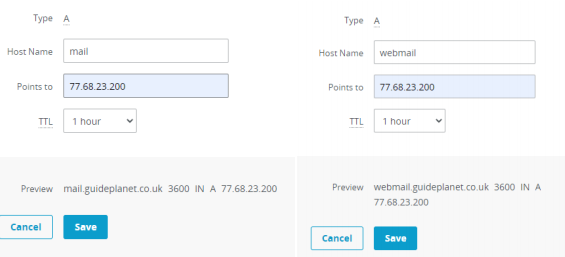
Set an A record for mail, webmail and a mx record on your domain:

Point the mail.domain to the server
Repeat and do webmail.domain
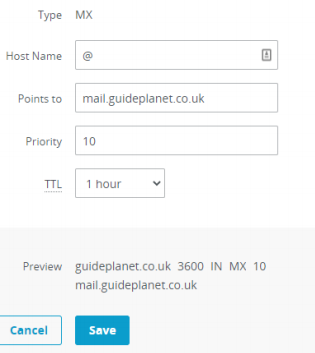
Now add record, MX:

Host: @ Points to: mail.domain
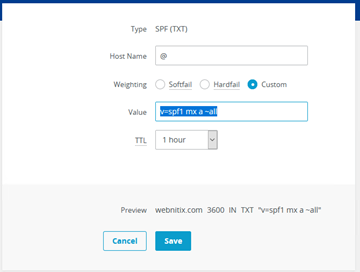
SPF, Go to your domain DNS settings and click add record, select SPF (TXT):

Fill out hostname: “@” and Value: “v=spf1 mx a ~all” click save:
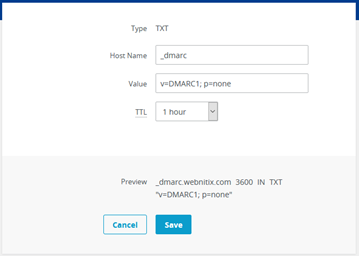
DMARC, Go to your domain DNS settings and click add record, select TXT:

Fill out hostname: “_dmarc” and Value: “v=DMARC1; p=none” click save:
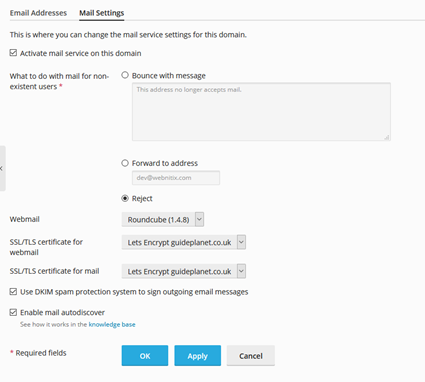
Head back to plesk, go to the domain and select mail settings:

Replicate these settings, making sure “Activate mail service on this domain” and “Use DKIM spam protection system to sign outgoing email messages” is ticked
Then click email address:

Create an email address:
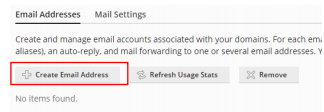
Customise this how you need it to be, create it, then go to webmail.domain.com and you will be able to into your mail. Once confirmed go back to plesk and click Ok.
DKIM, click onto DNS settings
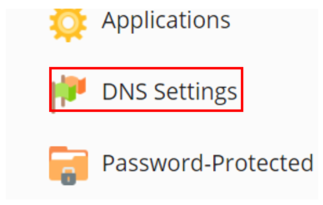
You will see a record called default._domainkey.domain.com, copy the value from here, it should look like this:

Zoomed in:

Copy this long text of code in full.
Mine for example here was:
v=DKIM1; p=MIGfMA0GCSqGSIb3DQEBAQUAA4GNADCBiQKBgQClStY2HAwXjisnAksOnieKbzCHQov87yslstzt4y2pp68dxMpzlvT7w14AsUPz79OpOmqGH/K2orYCtAI5kkrdMNMdr2Wn1OnmCeTKlDN8jZeHXZv4IwR5P3Y4kUirJcWLo4sSpAOdvlFA1GWeMrVmx7ylkpzhfukdMys5GyCNzwIDAQAB;
Now go to the domains DNS settings in your IONOS panel:

Go to the domain and select DNS:

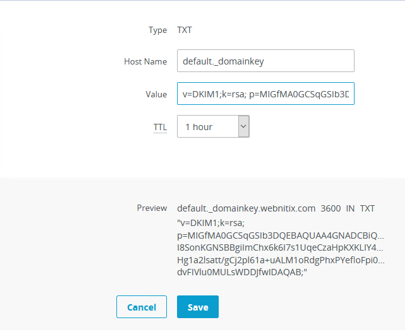
DKIM, click add record, select TXT:

Fill out hostname: “default._domainkey” and Value: “v=DKIM1;k=rsa; p=PASTE THE KEY HERE;” click save:
To set up the email address on a client look at these guides:
Server names/host names would be mail.domain.com for all of these:
Server names/host names would be mail.domain.com for all of these:
Android phone: https://docs.plesk.com/en-US/obsidian/reseller-guide/75211/
Mac Mail: https://kb.layershift.com/how-to-configure-plesk-mail-in-mac
These guides are not ours and others can be found by searching them on the internet